CentOS Stream9
vps2024_centos_strem9のインストールログ
2024年時点でのCentOS Stream9のインストールログの2回目です。
MariaDBのインストール
今度はDBのインストールに入ります。
次のように入力。
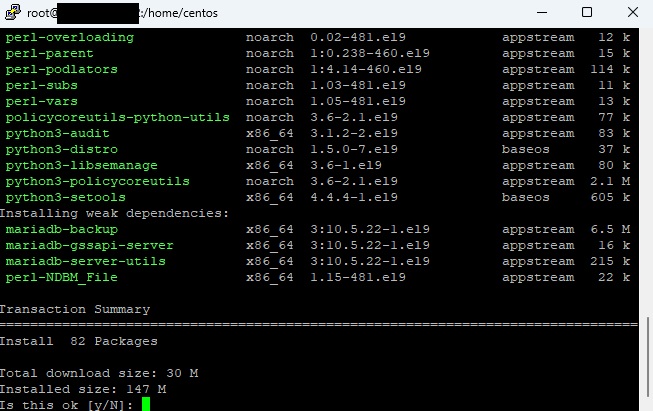
yum install mariadb-server
yを押下して先に進みます。
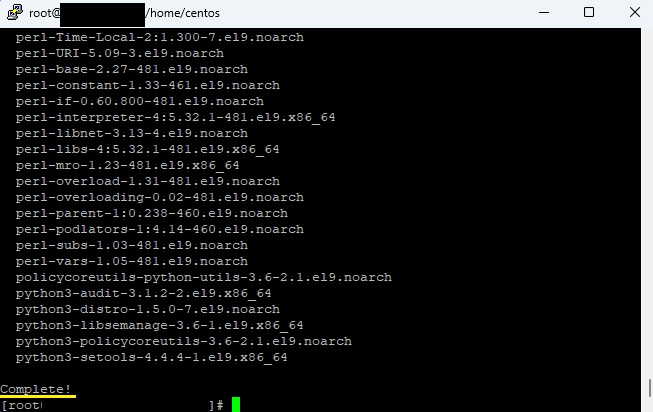
以下のようにCompleteと表示されることを確認します。
MariaDBの起動
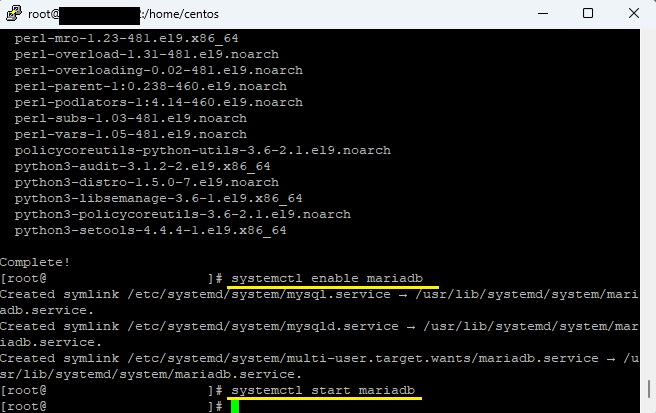
systemctl enable mariadb
systemctl start mariadb
以下のようになることを確認します。
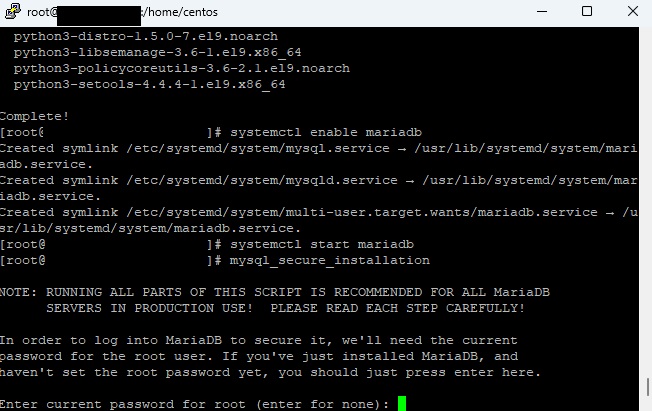
MariaDBのパスワード設定
mysql_secure_installation
途中以下で聞かれるがEnter押下で先へ進みます。
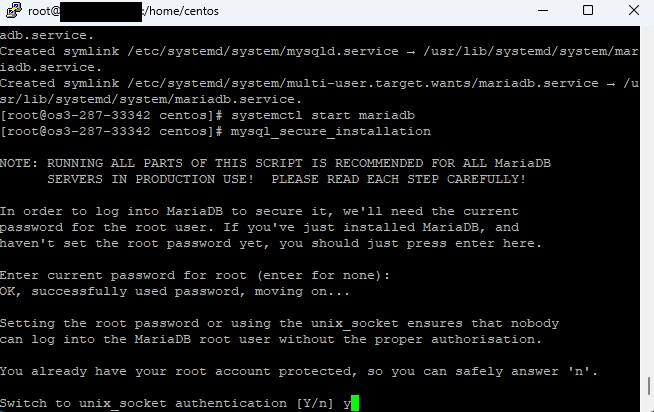
yでEnter.
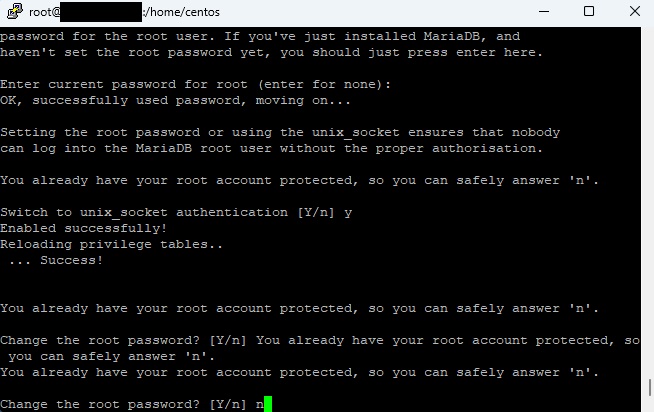
nでEnter.
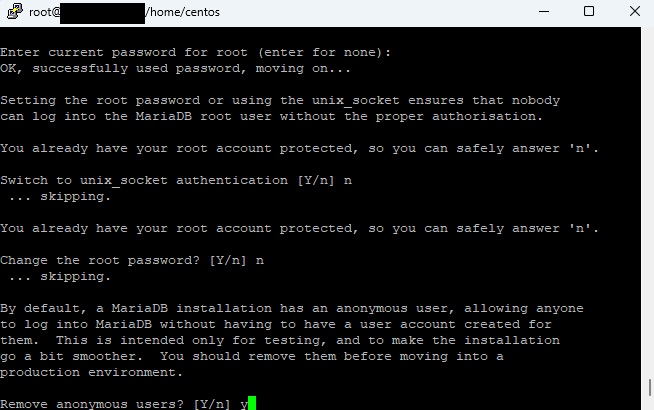
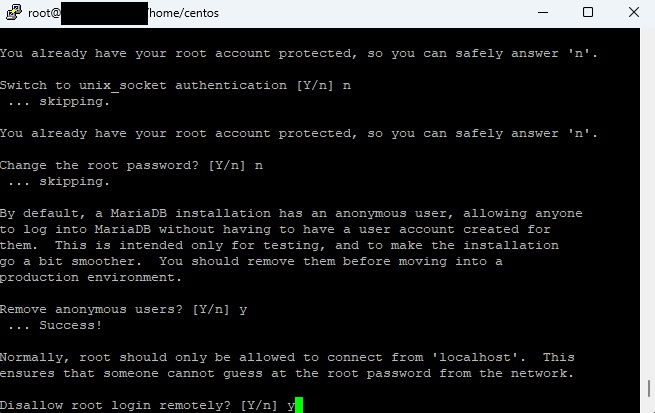
Nomally, root should only be allowed to connect from 'localhost'. This ensure that someone connot guess at the root password from the network.
Disallow roo login remotely?
と聞かれるのでyでEnter.
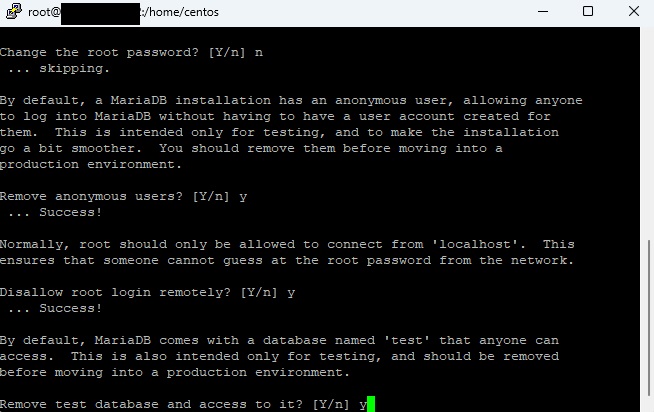
Remove test database and access to it? [Y/n]でYでEnter。
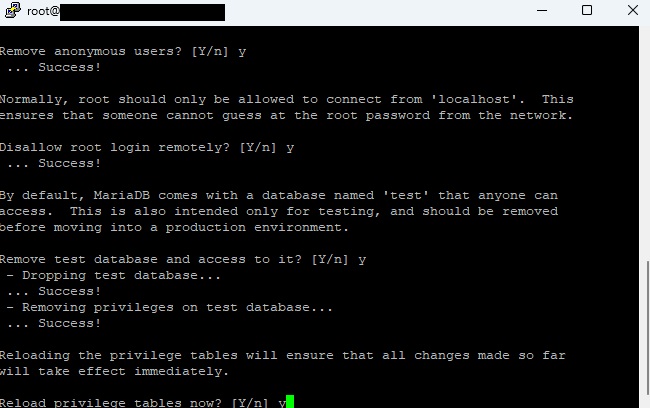
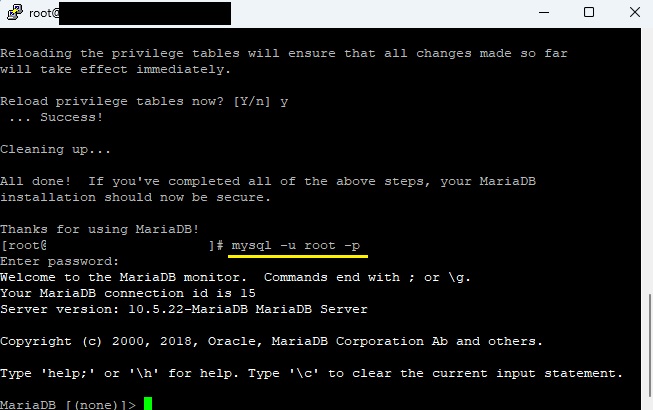
Reloading the privilege tables will ensure that all change made so far will take effect immidiately.


Reload privilege tables now? [Y/n]
と聞かれるのでYでEnter。
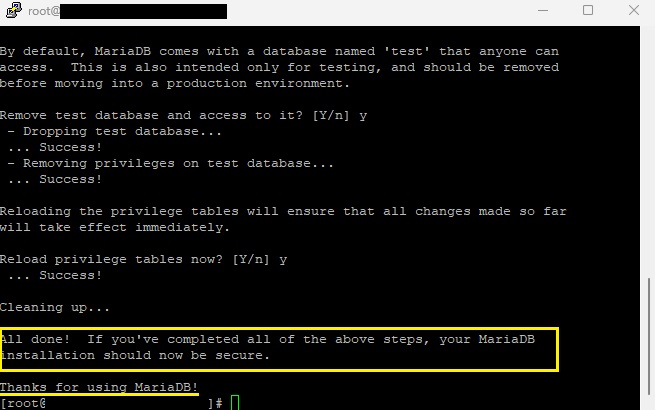
以下のように表示されるのを確認します。
データベースの確認
以下のように入力。
mysql -u root -p
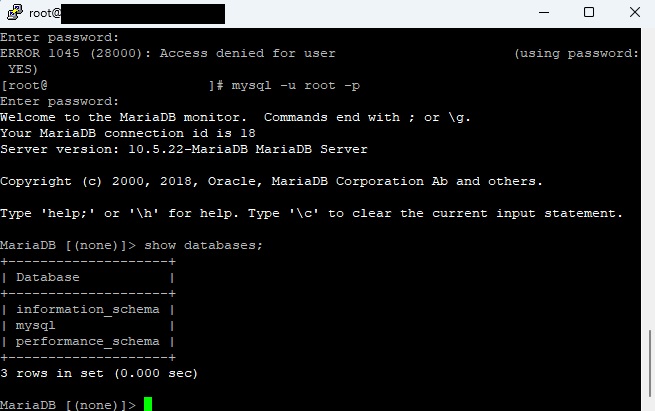
データベースの表示
以下のように入力。
show databases;
phpMyAdminのインストール
インストールしたMariaDBを操作するためにphpMyadminのインストールを行います。
で今回は前回と違うのはCentOS7からCentOS Stream 9というやつになり、去年の内容だと、次のコマンド、
yum install --enablerepo=remi,remi-php74 phpMyAdmin
でうまくいったが今回次のようなエラーが出て先に進めない状況になりました。
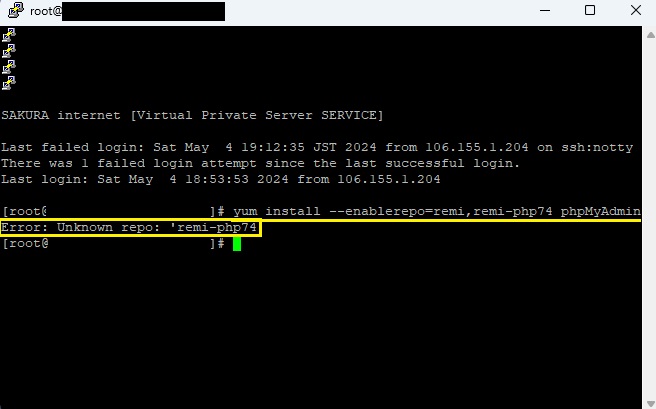
対処法としては以下のサイトを参考にしました。
https://qiita.com/lixwork/items/7b4cabd169803138b03f
上記サイトの内容通り以下の順番で順に実行します。
cd /var/www/html
wget https://files.phpmyadmin.net/phpMyAdmin/4.9.1/phpMyAdmin-4.9.1-all-languages.zip
unzip phpMyAdmin-4.9.1-all-languages.zip
mv phpMyAdmin-4.9.1-all-languages myadmin
途中wgetやunzipが効かない場合は、
yum -y install wget
などとしてインストールしておく。
さらにこれだけではphpadminを起動できないので以下の操作を行います。
編集ファイルのところまで移動。
cd /etc/httpd/conf.d/
バックアップ。操作ミスがないという自信のある方はスルーで。
cp phpMyAdmin.conf phpMyAdmin.conf.old
vimエディタを起動します。
vim phpMyAdmin.conf
前回は16行目~とあったと思うが今回は対象となる箇所がすぐわかるようになっているらしい。
以下の箇所を書いてある通りに編集する。
Alias /phpMyAdmin /usr/share/phpMyAdmin
Alias /phpmyadmin /usr/share/phpMyAdmin


AddDefaultCharset UTF-8


#Require local
Require all granted


Require local
元からあるRequire localの先頭に#をつけてその下に新たにRequire all grantedを追記して保存します。
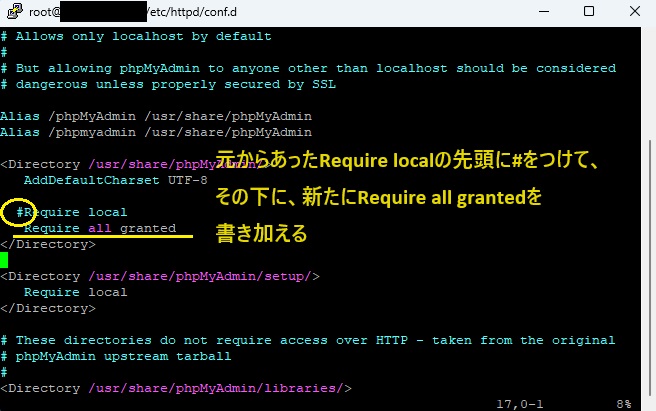
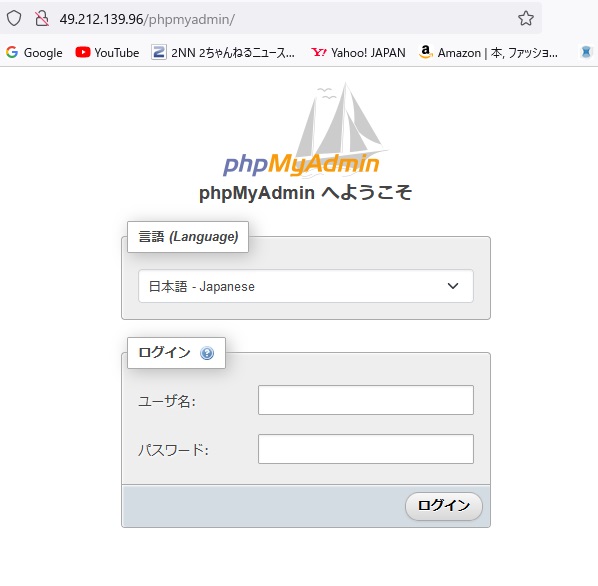
これをしてからsystem restart httpdとやって、取得したIPアドレスの/の後にphpadminと入力してリロードすれば次のようなphpAdminの操作画面が表示されます。
URLの変更
上記のphpmyadminだと推測されやすいのでエイリアス設定を変更をします。
再度phpMyAdmin.confファイルへ入っていき次のような箇所、
Alias /phpMyAdmin /usr/share/phpMyAdmin
Alias /phpmyadmin /usr/share/phpMyAdmin
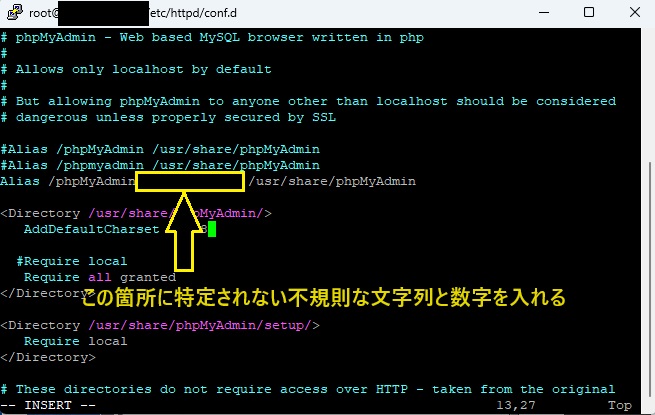
をコメントアウトしてphpMyAdminのあとに推測されにくいテキストxxxxx(←は適当なアルファベットの文字列)を入力して保存します。
#Alias /phpMyAdmin /usr/share/phpMyAdmin
#Alias /phpmyadmin /usr/share/phpMyAdmin
Alias /phpMyAdminxxxxx /usr/share/phpMyAdmin
以下の要領で編集する。
cd /etc/httpd/conf.d/
vim phpMyAdmin.conf
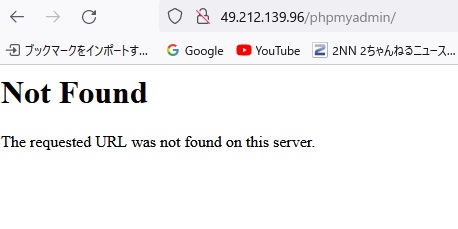
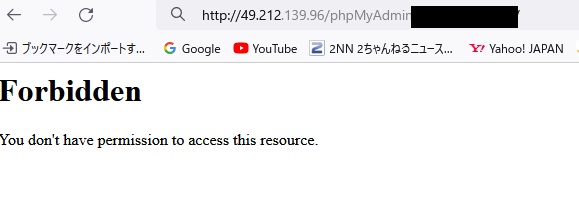
保存してこれでリロードすると次のようにnot foundとなってエラーになる。
ここで先ほどエイリアス設定で入力した文字と数字を入れて再度リロードする。
そうすると次のように新たなphpMyAdminで表示されるようになる。
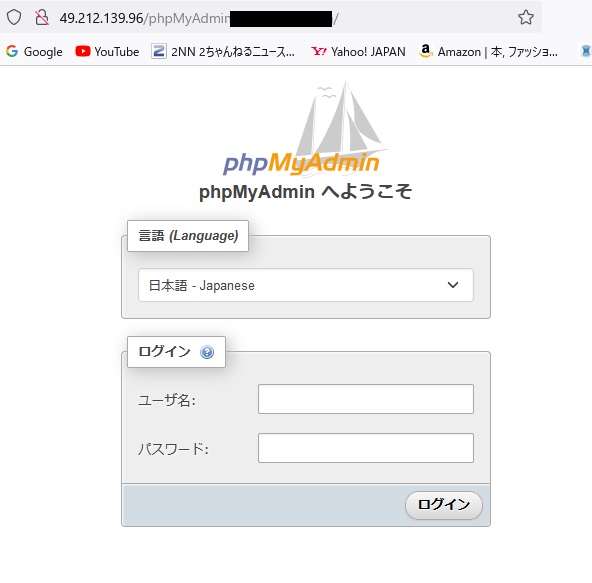
ちなみにphpMyAdminは大文字小文字の区別があるので気を付ける。
phpadminのhttps化
httpではなくhttpsでアクセスさせるためsslのインストールを行う。
次のように管理者権限で入力。
yum install mod_ssl
yでEnter

httpアクセスの停止
httpでのアクセスを停止する。
httpdのconf.dファイルへ移動。
cd /etc/httpd/conf.d/
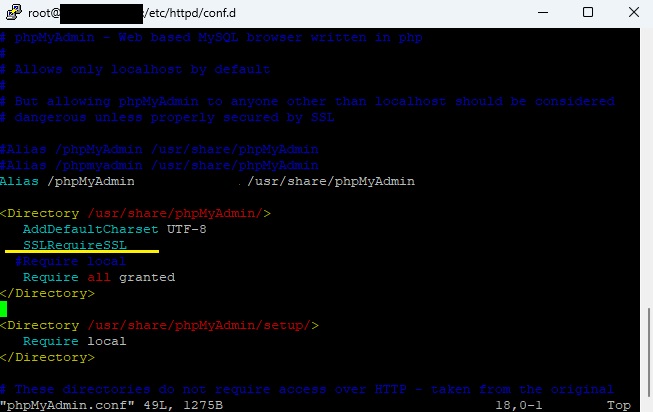
vimでファイルを編集するので以下のように入力。
vim phpMyAdmin.conf
以下のように入力する。
AddDefaultCharset UTF-8
SSLRequireSSL
#Require local
Require all granted
システムを有効化するために次のように入力する。
systemctl restart httpd
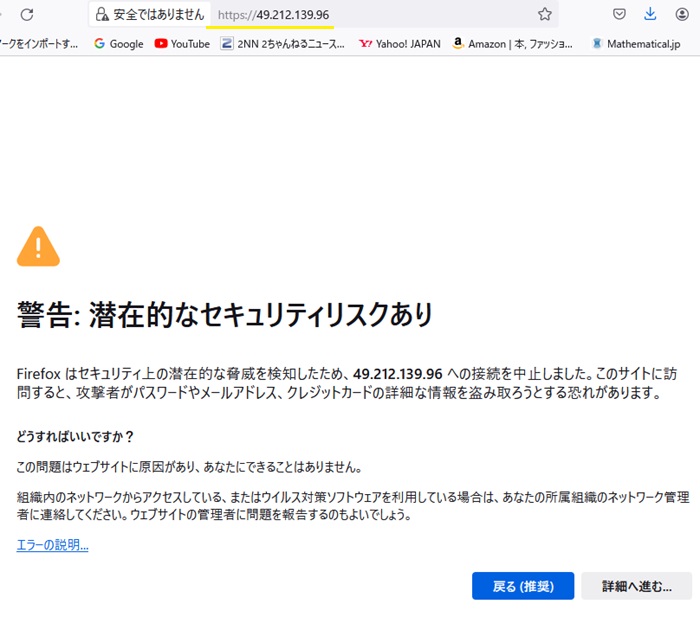
http://~ でリロードするとnot foundとなる。
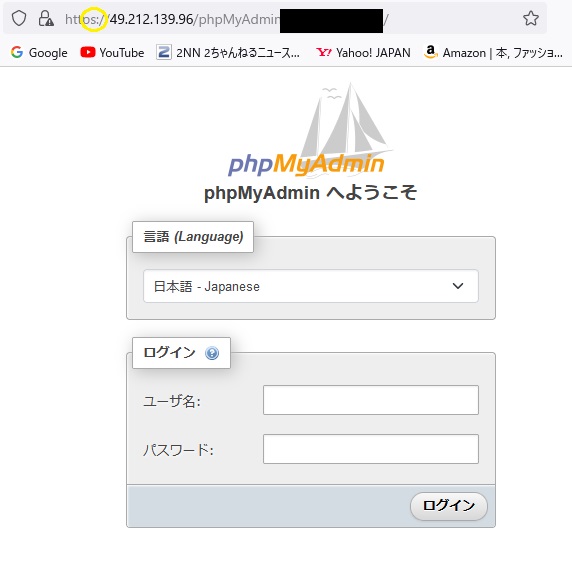
しかしhttps://~ ではいればまた通常のphpMyAdminの画面が表示されるようになる。
phpMyAdminのバージョンアップ
定期的に以下を確認するようにすること。
remiのリストを取得
yum check-update --enablerepo=remi
phpmyadminのバージョンの情報
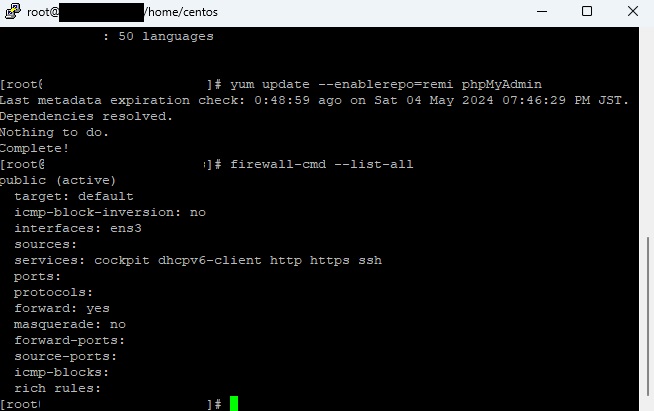
yum info --enablerepo=remi phpMyAdmin
[root@~~~~~~~]# yum info --enablerepo=remi phpMyAdmin
Last metadata expiration check: 0:47:45 ago on Sat 04 May 2024 07:46:29 PM JST.
Installed Packages
Name : phpMyAdmin
Version : 5.2.1
Release : 1.el9.remi
Architecture : noarch
Size : 47 M
Source : phpMyAdmin-5.2.1-1.el9.remi.src.rpm
Repository : @System
From repo : remi
Summary : A web interface for MySQL and MariaDB
URL : https://www.phpmyadmin.net/
License : GPL-2.0-or-later AND MIT AND BSD 2-Clause AND BSD 3-Clause AND
: LGPL-3.0-or-later AND MPL-2.0 AND ISC
Description : phpMyAdmin is a tool written in PHP intended to handle the
: administration of MySQL over the Web. Currently it can create and
: drop databases, create/drop/alter tables, delete/edit/add fields,
: execute any SQL statement, manage keys on fields, manage
: privileges,export data into various formats and is available in
: 50 languages
SSL証明書のインストール
今から四半世紀前まではhttpが大半だったが現在ではhttpsが主流になっている。理由はワイアシャークなどで簡単にパスワードなどの情報が閲覧できるため。
なので常時SSLをインストールする。
httpsの確認
firewall-cmd --list-all
Lets’Encryptのインストール
前回はCentOS7で以下、
yum install certbot python2-certbot-apache
のように行ったが次のようにエラーが出る。
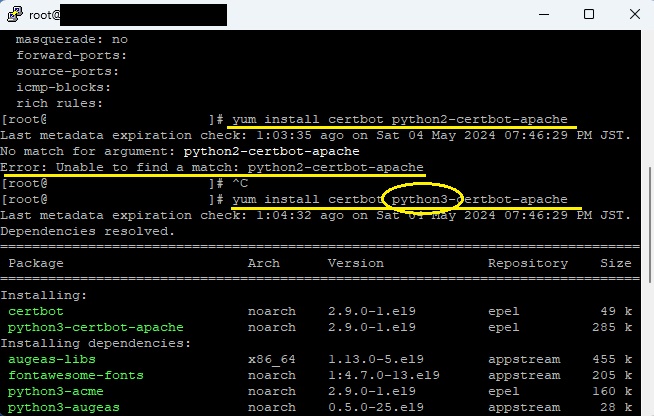
今回はCentOS Stream9なので次のように入力。
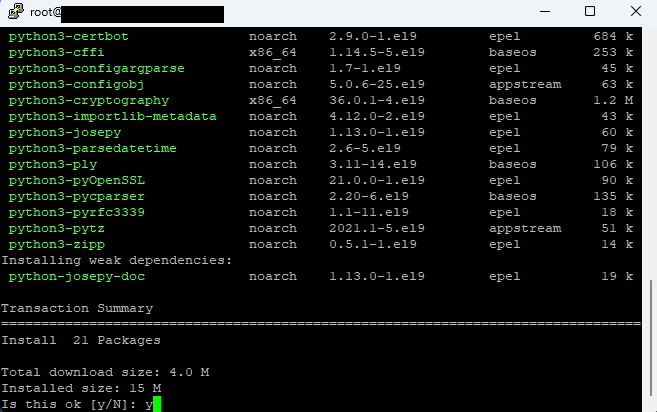
yum install certbot python3-certbot-apache
certbot --apache -d akjp.org
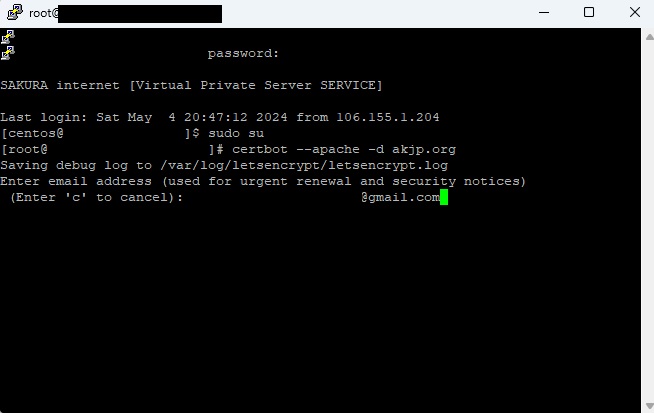
上記akjp.orgの部分はそれぞれ取得したドメインを入れる。
前回と同じなのだが今回も取得したドメインSSLを発行しようとしたところ次のようなエラーメッセージが出る。
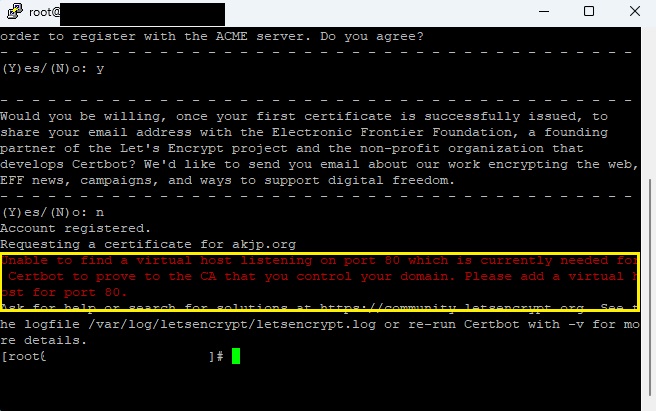
[root@i~~~~~~ ~]# certbot --apache -d akjp.org
Saving debug log to /var/log/letsencrypt/letsencrypt.log
Plugins selected: Authenticator apache, Installer apache
Starting new HTTPS connection (1): acme-v02.api.letsencrypt.org
Requesting a certificate for diff-eq.com
Performing the following challenges:
http-01 challenge for diff-eq.com
Cleaning up challenges
Unable to find a virtual host listening on port 80 which is currently needed for Certbot to prove to the CA that you control your domain. Please add a virtual host for port 80.
最後の一文はポート80に仮想ホストを追加してくださいということになる。
httpd.confファイルの編集を行うので次のように入力。
vim /etc/httpd/conf/httpd.conf
以下を追記
ServerAdmin root@akjp.org
DocumentRoot /var/www/html
ServerName akjp.org
再度以下を入力する。
certbot --apache -d akjp.org
Certbot failed to authenticate some domains (authenticator: apache). The Certificate Authority reported these problems:
Domain: akjp.org
Type: dns
Detail: DNS problem: SERVFAIL looking up A for akjp.org - the domain's nameservers may be malfunctioning; DNS problem: SERVFAIL looking up AAAA for akjp.org - the domain's nameservers may be malfunctioning


Hint: The Certificate Authority failed to verify the temporary Apache configuration changes made by Certbot. Ensure that the listed domains point to this Apache server and that it is accessible from the internet.


Some challenges have failed.
Ask for help or search for solutions at https://community.letsencrypt.org. See the logfile /var/log/letsencrypt/letsencrypt.log or re-run Certbot with -v for more details.
-
VPS構築2024 CentOS Strem9-①
カテゴリー : VPS構築2024 CentOS Strem9-②2024年時点でのCentOS Stream9の導入にて実施して気づいたことや注意点などの内容に関して順を追っ…